How to Set Up a Shopify Store: A Step-by-Step Guide to Your First Online Store
In this article11 sections
- Why choose Shopify?
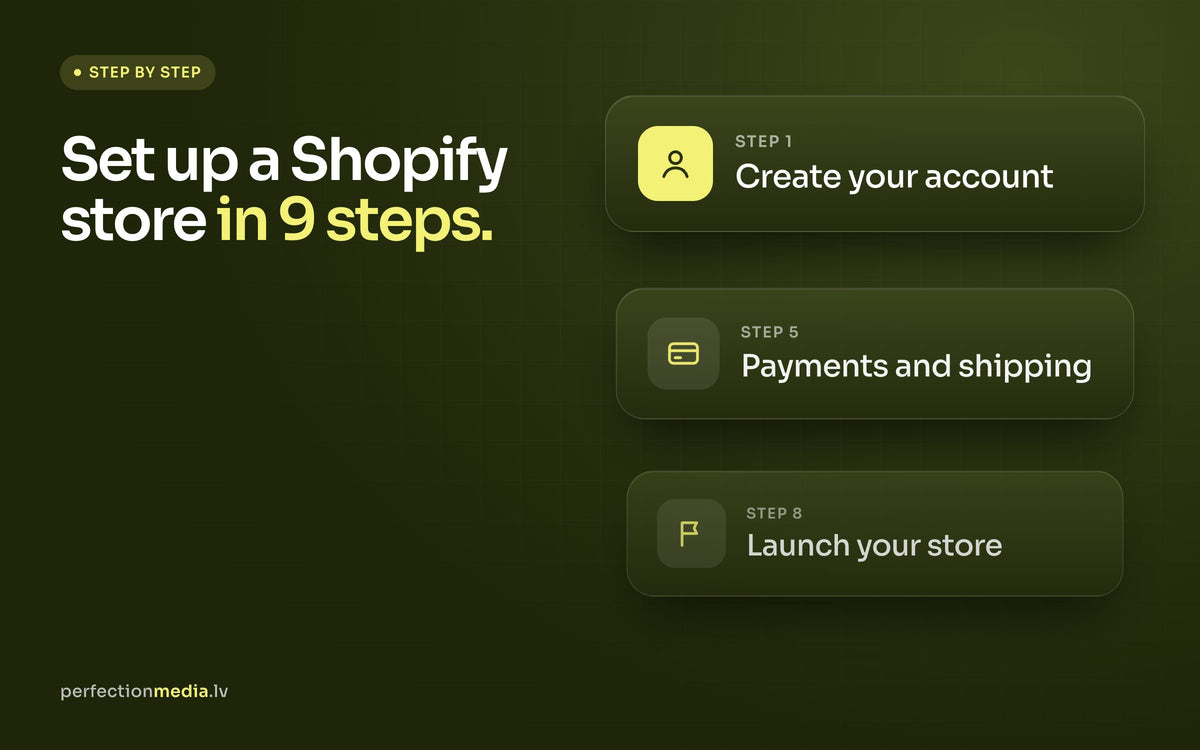
- Step 1: Create your Shopify account
- Step 2: Get to know the Shopify admin
- Step 3: Choose and customise a theme
- Step 4: Add your products
- Step 5: Set up payments and shipping
- Step 6: Shopify SEO basics
- Step 7: Add your store policies
- Step 8: Launch your store
- Step 9: Market your store
- Conclusion
Millions of businesses around the world sell on Shopify. You can build a store from scratch without any coding experience, and this guide takes you through it step by step: creating the account, choosing a theme, adding products, setting up payments and shipping, and launching.
Key takeaways
- You can set up a working Shopify store yourself, without code, in nine steps.
- Fill in products properly from the start: clear titles, good photos, weights and stock tracking.
- Shopify Payments works for online sales in Latvia; add local bank payments for Baltic customers.
- Before launch, place a test order and check the whole store on a phone.
Why choose Shopify?
Shopify is one of the best e-commerce platforms for small and growing stores: it is easy to use, reliable and backed by a large app ecosystem. The key benefits:
- No coding required: you can build a fully working store without technical knowledge.
- Customisable themes: choose a free or paid theme and adapt it to your brand.
- Flexible payments: accept cards through Shopify Payments, plus PayPal and local providers such as MakeCommerce bank payments for Baltic customers.
- Room to grow: plans, apps and integrations that grow with your business.
- 24/7 support: Shopify's support team is available around the clock.

Step 1: Create your Shopify account
- Go to Shopify’s website and click Start free trial. Shopify regularly runs trial offers; check the current one on shopify.com.
- Enter your email address, create a password and choose a store name.
- Answer a few questions about your business.
- Continue to your Shopify admin.
Step 2: Get to know the Shopify admin
The admin is your control centre. The main sections are:
- Orders: manage orders and fulfilment.
- Products: add and edit products, collections and inventory.
- Customers: customer details and purchase history.
- Analytics: sales, traffic and conversion rate.
- Marketing: campaigns and automations.
- Apps: extra features from the Shopify App Store. Our list of essential apps for new Shopify stores helps you choose the first few.
Step 3: Choose and customise a theme
Your store's design decides whether visitors trust you enough to buy.
- Go to Online Store > Themes.
- Browse the Shopify Theme Store for free and paid themes.
- Click Customize to adjust colours, fonts, layouts and sections.
- Add your logo, update the homepage banners and keep the navigation simple. Check every change on a phone as well as on a computer.
Step 4: Add your products

Well-filled product pages help both your Google rankings and your conversion rate.
- Go to Products > Add product.
- Fill in:
- Title: descriptive, using the words customers search for (for example, "Handmade Leather Wallet for Men").
- Description: features, benefits and what makes the product different.
- Media: sharp photos from several angles, plus lifestyle shots.
- Pricing: the price and, if relevant, a compare-at price.
- Inventory: stock tracking for each variant.
- Shipping: the product weight, so shipping rates are calculated correctly.
- Click Save and repeat for the next product.
Step 5: Set up payments and shipping
Payments
- Go to Settings > Payments.
- Activate Shopify Payments, or add providers such as PayPal or MakeCommerce.
- Enter your business and bank details.
- Set your store currency under Settings > General.
Shipping
- Go to Settings > Shipping and delivery.
- Add flat rates, weight-based rates or carrier-calculated rates.
- Offer free shipping above a set order value to encourage larger orders.
Three delivery options often work well side by side: a standard option, a faster mid-priced option and a premium choice such as next-day express delivery. The premium option makes the standard price look fair, and some customers will happily pay for speed.

Step 6: Shopify SEO basics
Ranking on Google and Bing brings in visitors without ad spend. Start with these basics:
- Write product titles and descriptions with the words customers actually search for.
- Add alt text to product images.
- Keep URL handles short and descriptive.
- Connect your own domain. Shopify includes an SSL certificate automatically, so just check that the padlock shows.
- Submit your sitemap: Shopify generates it automatically at yourdomain.com/sitemap.xml. Add it in Google Search Console.
For a deeper look at SEO, design and growth, read our complete guide to Shopify store development.
Step 7: Add your store policies
To build trust and meet legal requirements, add these policies:
- Privacy policy
- Terms of service
- Refund policy
- Shipping policy
Go to Settings > Policies, start from Shopify's templates and adapt them to your business and the countries you sell to. If you sell to EU consumers, your refund policy must cover the 14-day right of withdrawal for online purchases.
Step 8: Launch your store
Before launch, check:
- the full checkout, with a test order;
- product descriptions and images;
- how the store looks and works on a phone;
- the homepage: is it clear within five seconds what you sell?
When everything is ready, choose a Shopify plan, connect your domain and switch off password protection under Online Store > Preferences. Your store is now live.

Step 9: Market your store
A store without visitors does not sell. These channels are a good place to start, and our case study on growing an unknown Shopify store shows how they work together:
- SEO: content-rich pages that rank on Google.
- Social media: Facebook, Instagram, Pinterest and TikTok.
- Email marketing: welcome emails, abandoned cart reminders and offers.
- Paid ads: Google and Meta ads when you want to grow faster.
- Content marketing: blog posts about your niche that attract organic traffic.
Conclusion
With this guide you can set up your first Shopify store yourself, whether you sell handmade goods, fashion, electronics or digital products. Start simple, launch, and improve as real orders come in.